Introduction
In my mind there is nothing easier or better tasting than a roasted chicken. In its basic form, it is so simple to make and practically hands off. Roast one or two chickens on Sunday afternoon, and you will have food for many meals. Chicken sandwiches for lunch, chicken enchiladas for dinner, chicken soup...You get the idea.
Choosing a chicken
For my family of four with two teenage boys, two six-pound chickens is a good amount. This allows us to eat roasted chicken on the first night, and then have enough leftovers to use throughout the week. For a smaller family, this would obviously be too much.
When you buy a chicken, look at the weight, price per pound, and also the expiration date. You want to make sure to get the correct size for your needs. If you are cooking two chickens at the same time, try to buy them of equal size so that they will cook in the same amount of time. Look at the price per pound. Prices do vary from area to area and over time, so I will not give specific numbers here, but be aware that a roaster will be more expensive than a broiler or fryer. Also, organic will be more expensive. Just look at the prices and make an informed decision. As you become more familiar with roasted chicken, you can decide if a more expensive one tastes better. Finally, check the expiration date. There is nothing worse than returning home to find a chicken with an expired date. I'm speaking from experience here!
I bought the chicken now what?
As soon as you return home, put the chicken in the refrigerator or freezer unless you are going to cook it very soon. Leave the chicken at room temperature for 1 hour before roasting it. This will help cook the chicken a little faster. This isn’t long enough to bring it completely to room temperature, but I don’t like putting a cold chicken into the oven. There are a lot of opinions about this. I’m just telling you what I do.
Mise en place
Mise en place is a French term meaning “everything in its place.” Before touching your raw chicken, have everything ready so that you don’t have to stop and wash your hands multiple times because you forgot something.
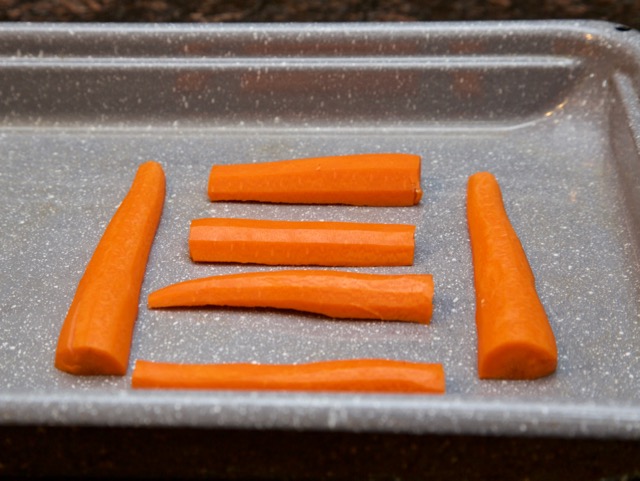
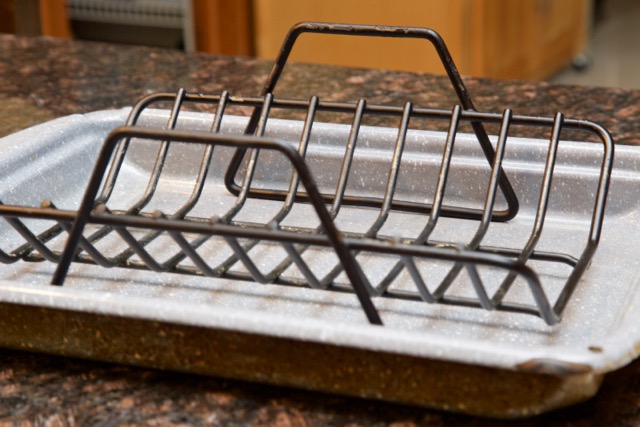
The first decision is what pan to cook it in. In an ideal world, you would cook your chicken on a rack, but many beginner cooks don’t have one. You may simply roast the chicken in a roasting pan or a cast iron skillet. Or you can use carrots as a base, and you will then have roasted carrots to serve with your chicken. Cooking with a rack or on top of carrots allows air to circulate around the chicken.
So, get out your pan. If you are using a rack, I suggest using a non-stick spray or rubbing it with vegetable oil to prevent sticking. If you decide to use carrots, peel the carrots and halve them lengthwise.
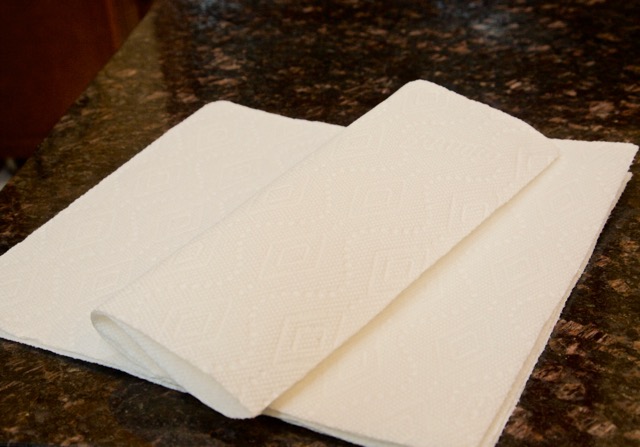
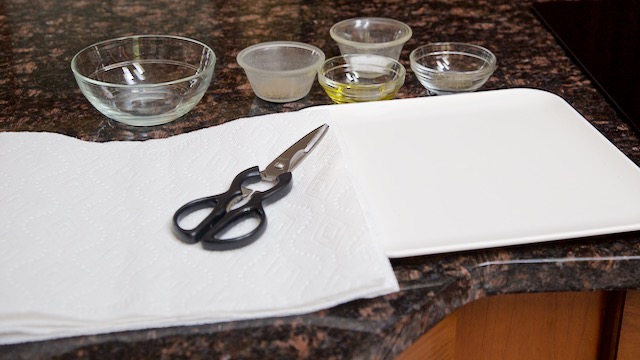
Tear paper towels into segments and place by your workspace. When your hands are dirty from the chicken, it isn't easy to tear off them off. You can use dish towels as well and then throw them in the wash, but for most people starting out, paper towels are the way to go. You may need scissors for opening the chicken packaging.
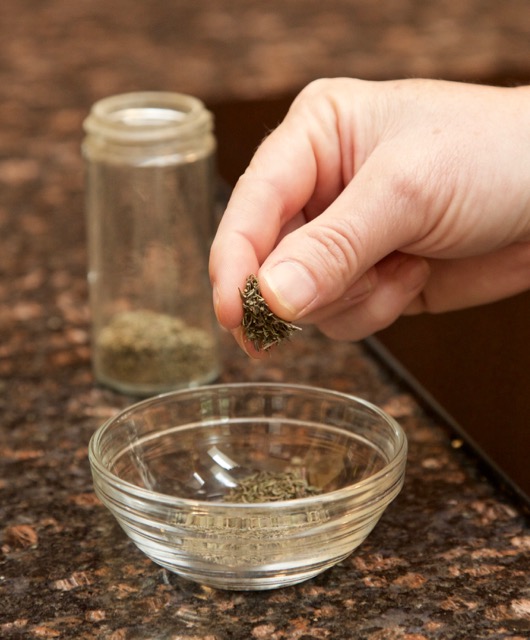
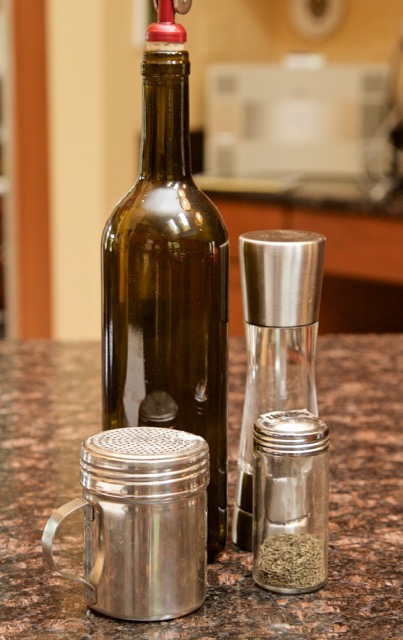
Have a small bowl with about 1/2 - 1 tablespoon of olive oil in it. Choose your herb or spice for your chicken. See the Variation section of the Roasted chicken recipe for ideas. For now, let’s use dried thyme. Put about 1 teaspoon of dried thyme in a small bowl. Release the flavors by rubbing the thyme between your thumb and index and middle fingers. It should smell more fragrant. Put about 1 teaspoon of salt and 1/2 teaspoon of pepper in the bowl with the thyme and mix thoroughly. This is to keep you from contaminating the salt and pepper shakers when you have just handled the raw chicken.
You now have everything in one centralized location preferably near a sink - your pan with a rack inserted or lined with carrots, olive oil, spices, paper towels, and scissors. You will also need a small bowl for the giblets and a cutting board. Mise en place accomplished.
Oven temperature and timing
There are many opinions on how long to cook a chicken and at what temperature. Many people use the rule of 20 minutes per pound. I follow Julia Child’s rule of 45 minutes plus 7 minutes per pound. In this blog, we are going to use a 5 pound chicken. This means that we will roast the chicken for a total of 80 minutes. I start the chicken off in a hot oven of 425º, which does a nice job of browning it. After 30 minutes, I turn the temperature down to 375º for the remainder of the cooking time.
There are other conditions to take into account. If the chicken hasn’t been at room temperature for an hour, add another 5 minutes or so. If it has a stuffing, add another 10 - 20 minutes. A convection oven cooks faster than a conventional oven. Some people lower the temperature by 25º - 50º as well as cutting down the time. After much experimentation, I find that cutting 7 - 10 minutes off the time works. If you like your chicken more well-done, and some people really do, add another 5 - 10 minutes.
Julia Child as well as others say to allow the chicken to rest 10 - 20 minutes after cooking. Personally, I don’t see that this does much good, although honestly I never seem to carve immediately upon taking the chicken out of the oven either; I just don’t consciously plan a rest period.
Now that you know how long to cook your chicken, preheat your oven to 425º.
Finally working with the chicken
We are ready to approach the chicken. A raw chicken can be intimidating the first time you cook it. Don’t be afraid, it will not hurt you. It is important to be careful when dealing with raw chicken because of contamination. Please be smart and wash your hands often and contain your chicken to a localized area to make cleanup easier.
There are many different theories on whether to wash a chicken or not. I’ve read that chickens are washed and put into food-proper packaging and therefore do not need to be washed. The argument being that by washing your chicken you are contaminating your sink and introducing unnecessary risk. I’ve gone back and forth on this issue, but I do wash my chicken. I simply thoroughly clean my sink immediately after the chicken goes into the oven.
Put the packaged chicken into your sink and open it, leaving the packaging in the sink. Some chickens will have a package of giblets in the cavity. Check the cavity of your chicken. If there is a bag of giblets, remove it and place it in the mise en place bowl.
Rinse the chicken thoroughly inside and out. Turn it upside down to let as much liquid drain out as possible. Using your paper towels, dry the chicken inside and out. Leave the dirty paper towels in the sink.
Place the chicken on your cutting board. Take the bowl of olive oil and pour it over your chicken. With your hands, rub the olive oil all over the chicken, top and bottom. Place the chicken in the pan with the breast up. Wash your hands thoroughly.
Take the bowl of seasonings and sprinkle it over the top of the chicken. Your chicken is now ready for the oven.
To stuff or not
I was taught to always truss my chicken because it looks better when it comes out of the oven, and I certainly agree with this. For me, however, it isn’t worth the effort. I find the skin is crispier without trussing, especially around the legs, and it is certainly easier and faster not to truss. The downside is that the chicken isn’t as pretty and occasionally one of the legs may fall off. In my experience, this rarely happens unless the chicken is overcooked.
There is a compromise, and that is to use cooking rubber bands. Do not use regular rubber bands because they will melt. The downside to the rubber bands is that they are hard to remove when hot and since they are reusable, you don’t want to cut them.
It is your decision whether to truss or not, but those directions are outside the scope of this blog.
Cooking rubber bands
To baste or not
If you want the experience of cooking a chicken to be as simple as possible, then don’t even think about basting. If you want a beautifully golden chicken and have the time, I would suggest basting. It doesn’t take that much time and does improve the crispiness of the chicken skin.
After you turn the oven down to 375º, pull the chicken out of the oven, and place it on a heat resistant surface. Using a heatproof brush, dip it into the liquid in the bottom of the pan and brush the chicken. I find there isn’t a lot of liquid at this point, so you may want to brush it with a little more olive oil. I set a second timer for 20 minutes. I do this so I don’t forget when the chicken is done. I baste the chicken every 20 minutes until the chicken is cooked.
Heatproof basting brush
While the chicken is cooking
When your chicken is in the oven, it is time to deal with the giblets and clean your work surface. If you don’t want to use the giblets to make stock or cook the liver, then throw the bag away. See below for how to use the giblets.
Throw the chicken packaging and paper towels into the trash.
Fill the sink with hot, soapy water and wash the items that came into contact with the chicken - scissors, cutting board, bowls for the olive oil and spices. Wipe the counter thoroughly. Put any contaminated towels in the laundry, and you are now finished with cleaning up the raw poultry.
What to do with the giblets
If you are using the giblets, work with them before cleaning up. Typically, giblets contain the neck, heart, liver, and gizzard. Sometimes a kidney will be included. For the liver, you can sauté that in butter with onions and eat it on a cracker. You can store the liver in a small bowl covered with water in the refrigerator to use within a day. Or you can put the liver in a container in the freezer and save it until you have a half a pound in order to make a Chicken liver pate.
The rest of the giblets can be used to make stock.
Making stock
If you are making gravy, you will want to make a stock from the giblets. The liver should not be used to make stock. If you are not making gravy, save these items and put them a resealable bag in the refrigerator. After carving the chicken, use the carcass along with the giblets to make stock.
Put the heart, kidney, gizzard, and neck in a saucepan. Cover with water. Bring to a boil. Skim any brown foam from the top. Reduce the heat and let simmer about an hour, watch to make sure the pan doesn’t run dry. After you have skimmed the foam a few times, add a peeled carrot cut into 2” lengths, a quartered small onion, a bay leaf, some peppercorns, and some parsley. I don’t add salt to my stock. I wait until I use the stock in something and season that dish.
It’s out of the oven
The timer says that the chicken is done. Pull the pan out and put it on a heatproof surface. After a few times roasting a chicken, you will have the timing down and know when your chicken is finished, but it never hurts to cut into the chicken to make sure that it is done. Raw chicken is not something you want to eat.
Cut between the drumstick and breast, pulling the leg to the side. The juice should be clear. If it is still pink, then put the chicken back into the oven until the juices are clear.
What about making gravy
The next decision is whether to make a gravy or not. All you need for this is flour, stock, and the pan in which the chicken was cooked.
Remove the chicken from the pan and put it on a cutting board, lightly tenting it with aluminum foil, if you wish. If you used a rack, remove it. If you used carrots, remove them to a covered dish to keep warm.
Put the pan on medium heat and stir using a whisk, wooden spoon, or spatula to release any bits stuck to the bottom of the pan. Eye up the amount of fat/liquid that you have in your pan. If you have about 2 tablespoons, you will use that much flour. I usually start by adding 1 tablespoon of flour at a time and stir that in with a whisk to prevent clumping. I add enough flour to make a slightly thick paste. Cook for a couple of minutes to cook the flour. Add ladles of hot stock, one at a time, to the pan and whisk. Continue adding the liquid until the gravy is the desired thickness. Season with salt and pepper.
How to carve a chicken
Please watch iwannabeacook's video on Carving a roasted chicken.
This is the hardest part of roasted chicken, but with time, practice, and patience you will master this skill. Don’t worry about cutting it perfectly. Each chicken is different and will therefore be a slightly different experience. The chicken will be delicious, so just relax and do the best you can.
Put the chicken on a cutting board that has an edge so that the juices don’t run over the side. These juices can be added to the gravy or poured over the cutup chicken. Put the breast facing up with the cavity towards you. Cut off the tail.
Cut into the chicken between the breast and the drumstick. This is where we tested to see if the juices were running clear. Separate the entire leg from the rest of the chicken and cut through the joint. Repeat on the other side. Cut between the drumstick and thigh. Your knife should be at an angle about parallel with the drumstick. Repeat with the other leg quarter.
Turn the chicken around so that the wings are in front of you. Slice through the breast just above the wing and cut through. There will be some breast meat attached to the wing. Repeat on the other side.
Only the breast remains at this point. Use your knife and cut down the cartilage separating the breast. Slide your knife down and separate the breast from the carcass. Repeat on the other side.
You now have an empty carcass. There is some meat on the back of the chicken, in little pockets. You must use your fingers to get this out, but since the meat is by the bone it is delicious. I use this meat for soup or chicken salad.
Follow the simplified directions in the Roasted chicken recipe.
In conclusion, I hope that you enjoy roasted chicken as much as I do. Experiment with seasonings, take notes, and find what works for you.
